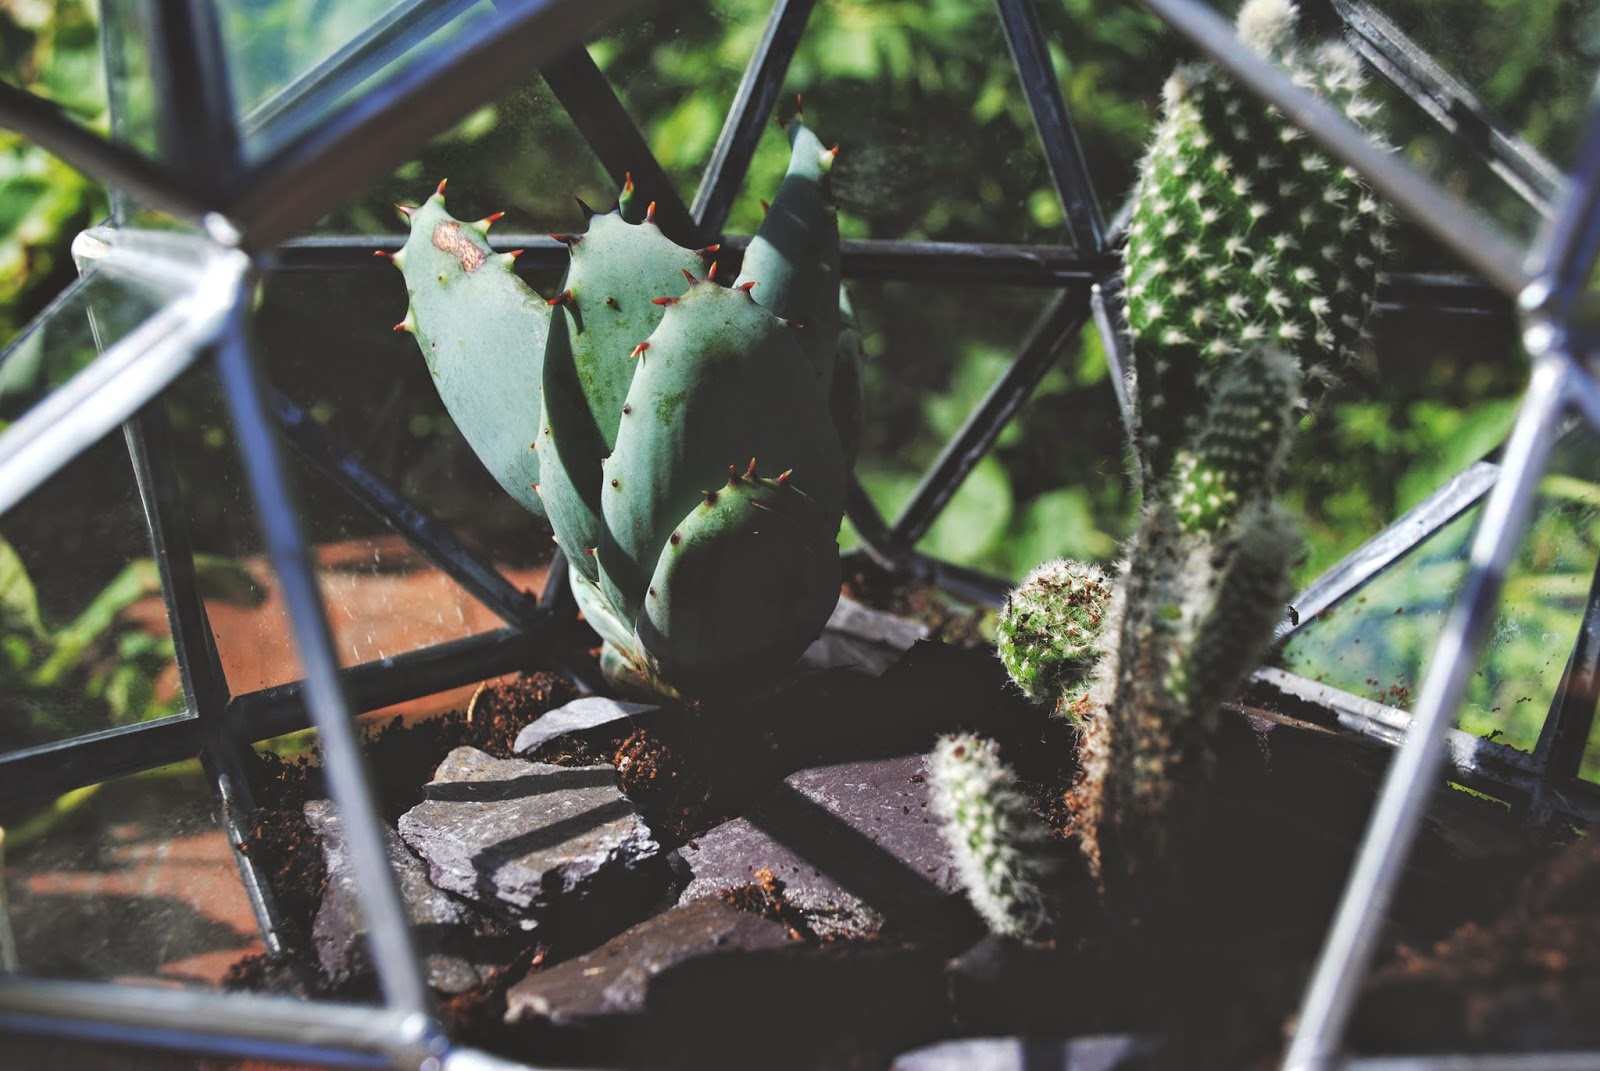
"Sometimes you simply want to enjoy the benefits of a garden without having to mow, prune, and fertilize."
Terrariums are popular thanks to their fuss-free maintenance, beauty, and minimal space requirements, meaning they’re also good options for those who want to garden but lack the outdoor space.
Before making a terrarium, consider where it will live in your home. For most plants, you’ll want a spot that receives indirect sunlight because the glass container will magnify the sun’s rays. (You also don’t want to put it where there’s no sunshine, such as in the basement.) A good rule of thumb is to let a plant’s nursery tag be your guide. It will tell you, for example, that boxwood basil prefers some sunshine while a miniature fern would be hap- pier in a shadier locale.
Once you’ve found the proper place, you’ll need the following supplies to make a terrarium: • Glass container
• Rocks (polished pebbles, sea glass, marbles, etc.) • Sphagnum or sheet moss • Soil
• Plants that won’t overgrow (good choices include boxwood, croton, Joseph’s coat, pineapple verbena and twiggy spikemoss for sun-loving plants and gnome ivy, golden club moss, Irish or Scottish club moss and miniature ferns for shade-loving plants.)
• Basic tools (spoons or a funnel for placing soil, long tweezers for putting materials into the vessel, scissors for clipping greenery, and paper towels or cotton swabs for cleaning the glass.)
STEP 1.
Choose a glass container. It can be anything from a clean, reused pickle jar to a vintage vase. Just make sure the container is clear and not coloured glass, which could hinder growth.
For beginners, it’s best to use a vessel with an opening wide enough to accommodate the width your hand so that you can easily place and move materials as needed.
STEP 2.
Place a handful of rocks at the bottom of the container. This layer helps to shape the terrain while aiding drain- age and aeration. Vary the layer’s thick- ness by the size of the container. The smaller the vessel, the thinner the rock layer; you’ll want to leave enough “head space” at the top of the terrarium when you’re finished that the setup doesn’t look cramped.
Step 3.
Scoop the soil into a funnel and fill the container with several inches of it. The greenery you’ll be planting will determine the type of soil you use. For moss, use a peat moss mixture, which is less likely to mold. For other plants, non-moisture-control potting mix should work. If a plant’s nursery tag indicates that it needs a specific type of soil, use that.
Keep in mind that this layer doesn’t have to be perfectly flat. Hills and valleys give the landscape character. Again, don’t fill the container too high with soil, since you’ll want to have enough “head space” for the greenery to grow.
Step 4.
Step 5. Plant your plants. If you’re using moss that you snagged from nature, make sure to first give it a blast of pesticide to debug it. Use scissors to trim it into shape and place it into the container. Make sure to press it down firmly to prevent air pockets. For other plants, plant them as you would in your outdoor garden. Loosen the root ball, place in a shallow layer of soil, add soil around it, and pat down.
Give the plant some water to help prevent transplant shock, keeping in mind that the container doesn’t have drainage holes like a potted plant would. The rocks layer will aid with drainage.
And there you have it! Your very own Terrarium.
We would love to see your creations, so don't forget to;
Tweet us at @The_RHS
or use the hashtag #ngw on Instagram


No comments:
Post a Comment